Josh and I brewed up an IPA tonight.
IPA Recipe
9 lbs Light Malt Extract
12 oz Crystal 60
2 oz Zeus Hops
2 oz Cascade Hops
Nottingham Yeast
Hop Schedule
1 oz Zeus @ 60 min
1/2 oz Zeus @ 20 min
1/2 oz Cascade @ 15 min
1/2 oz Cascade @ 10 min
1/2 oz Cascade @ 5 min
1/2 oz Cascade @ end of boil
1/2 oz Zeus dryhop
Monday, September 19, 2011
Saturday, May 7, 2011
Honey Wheat Ale
Alright, so here's my first shot at blogging an entire recipe and the brew process. I scoured the internet to get different ideas for a Honey Wheat ale, picked a few different ideas, and settled on this...
Recipe:
7.5 lbs Wheat Malt Extract
1 lb Clover Honey
2 oz Amarillo Hops
1 oz Cascade Hops
Safale US-05 yeast
Whirfloc Tablet
3/4 cup - 1 cup of corn sugar for bottling
Hop Schedule:
60 min - 1 oz Cascade
30 min - 1 oz Amarillo
15 min - Whirfloc Tablet
10 min - add Clover Honey
5 min - 1 oz Amarillo
let temp drop to 78 degrees and pitch yeast. Since I just brewed the beer this evening I'll update later with the days I let the beer ferment in the primary and secondary fermenters.
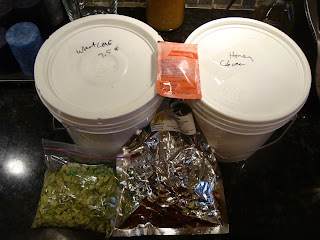
The ingredients are nicely displayed prior to the brewing process...


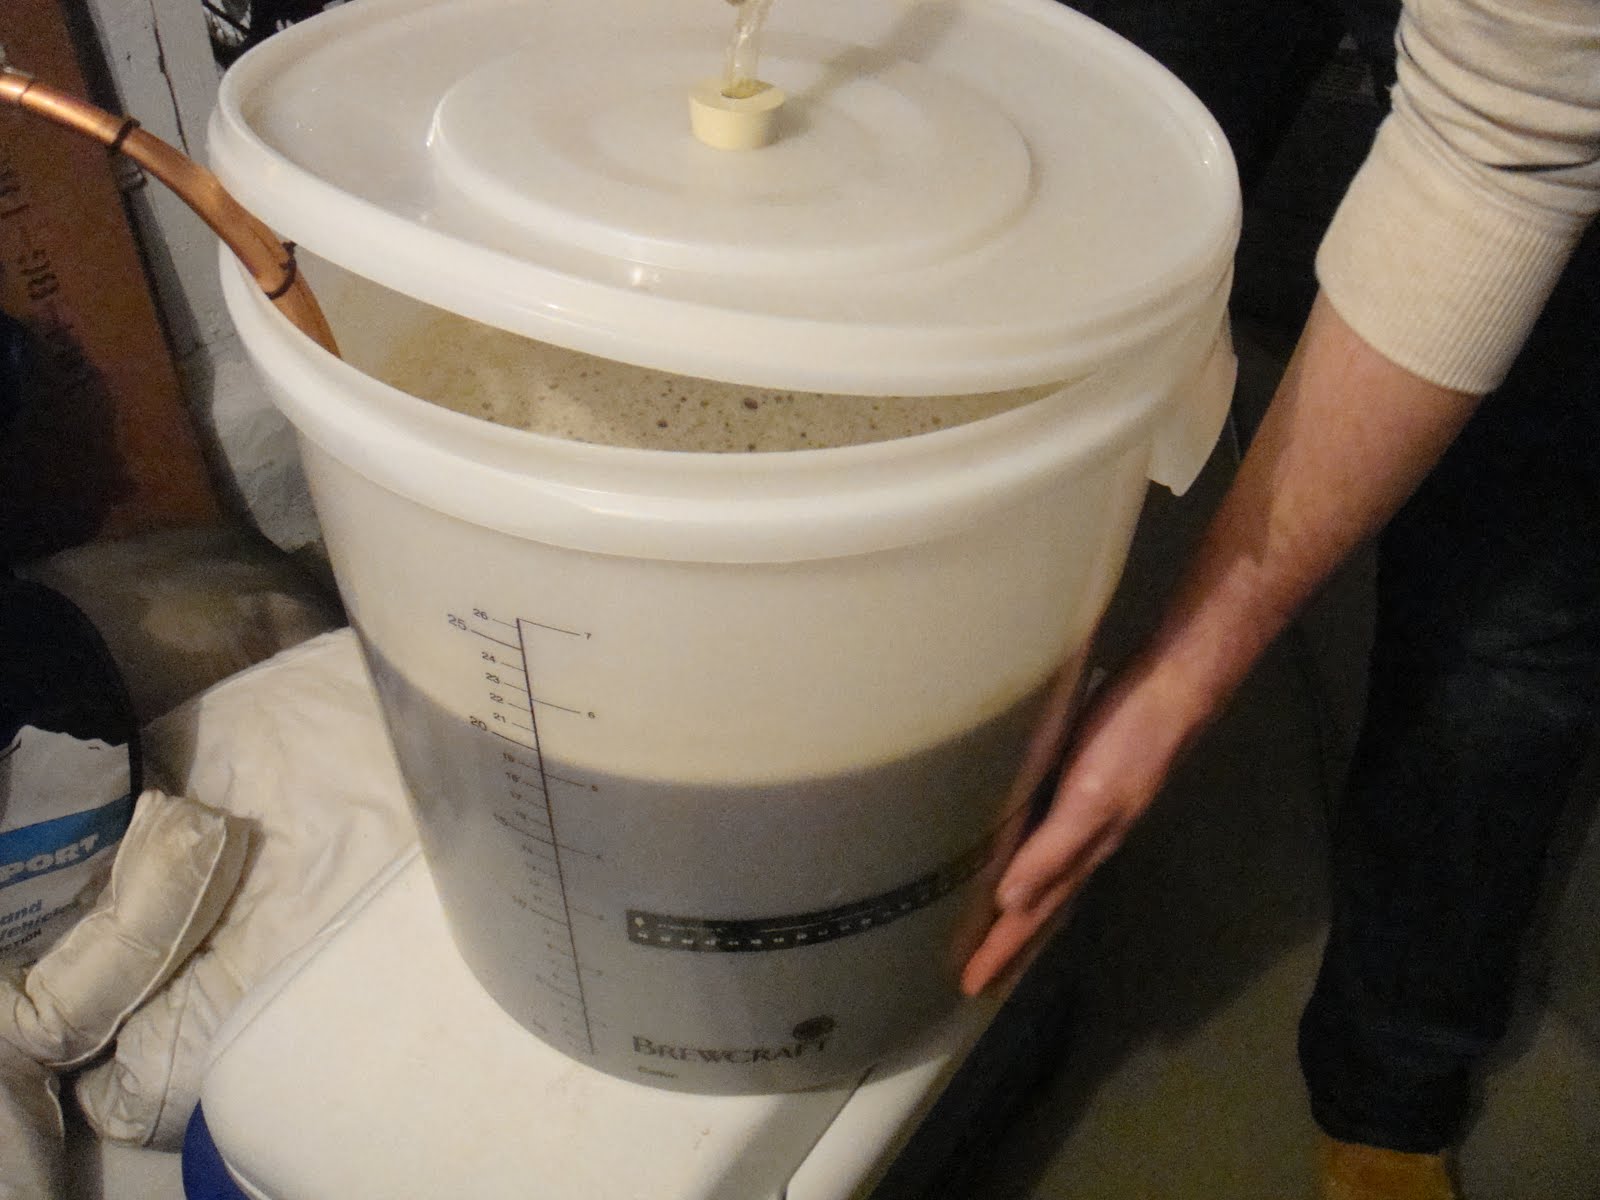
After the extract was added and the first hop addition...


Recipe:
7.5 lbs Wheat Malt Extract
1 lb Clover Honey
2 oz Amarillo Hops
1 oz Cascade Hops
Safale US-05 yeast
Whirfloc Tablet
3/4 cup - 1 cup of corn sugar for bottling
Hop Schedule:
60 min - 1 oz Cascade
30 min - 1 oz Amarillo
15 min - Whirfloc Tablet
10 min - add Clover Honey
5 min - 1 oz Amarillo
let temp drop to 78 degrees and pitch yeast. Since I just brewed the beer this evening I'll update later with the days I let the beer ferment in the primary and secondary fermenters.
The ingredients are nicely displayed prior to the brewing process...


After the extract was added and the first hop addition...


The beer brewing process is complete, the wort chiller is connected and we're chilling the wort...


Yeast is pitched and now we wait, should be 3-4 days in the primary, another 2 weeks in the secondary, then two weeks in bottles... this should be drinkable mid-June, just in time for summer!
The beer sat in the primary fermenter for 5 days before I racked it to the secondary. I'm thinking I'll leave it in the secondary for 10-14 days and then bottle. Since this is my first attempt at brewing a honey beer, I chose to bottle it, rather than keg. Below is the honey wheat in the secondary and in the foreground is the black IPA sitting in another secondary.

Thursday, May 5, 2011
Building a Wort Chiller... via Home Depot/Lowes
So I decided to attempt to move away from the ice bath method of chilling the freshly boiled beer to using a wort chiller. Problem was, I didn't want to drop $60 bucks on something that looked like it could be fairly easy to build and definitely not cost $60. So I did some research, read some other blogs, and figured out the parts that I would need. I headed to Lowes and picked up all of the components for just around $30.
Parts needed:
20 ft 1/4" od copper tubing
10 ft 1/4" id vinyl tubing
Hose adapter fitting
3 #4 clamps

I used one of my Cornelius Kegs as a mold to wrap the copper tubing around, because its much thinner than my brew kettle and primary fermenter, using the Cornelius Keg makes it fit nicely.

After molding the tubing, I attached the vinyl tubing and attached the clamps, after that I used a couple of zip-ties to connect the incoming and outgoing openings.

After attaching everything, I had a quick trial run in the utility sink, didn't find any leaks, and we have a finished product. All for around $30 in materials and 15 minutes of work. Not too shabby.

Saturday, April 30, 2011
Origins of the Brozone, and Building a Kegerator out of a Freezer Chest
Pat and I were talking one day last year about what I could do with my basement, it was a big, open space that really was only being used for storage and a garage space/woodshop... and the dream was born. After multiple pitchers and cigars at Greater Trumps (our local and one of our favorite cigar bars) we came up with the idea of building a man cave of sorts... complete with wired in surround sound, ceiling ventilation for cigar smoking, flat screens on the walls, and a bar to enjoy our delicious homebrews.
(The space before we started construction)


Now the plans changed multiple times before we started construction, and in the end we still ended up with a phenomenal space, we just nixed the air filtration station, moved the bar around, and decided to add kegorator so we could start kegging our delicious beers.
I found a freezer chest at Lowes that was large enough to fit 3 Corny Kegs, Kegging components, plenty of bottles of beers, and hops for future brews. I took the top off of the freezer chest, spray painted the body black with appliance paint, and covered the front with wainscot.


After the wainscot, I added a riser with 2x4's to attach the tap handles and lid, and stained it with a red mahogany strain.


 The finished product, stained, lacquered, and the slate is covered with a protective coating. I initially put in slots for three tap handles, for the time being I have two taps and have plugged the third hole. There is a heating duct that looked like a waste of space, so I added some blackboard paint and put in a blackboard to list all of my bottled and kegged beers.


(The space before we started construction)


Now the plans changed multiple times before we started construction, and in the end we still ended up with a phenomenal space, we just nixed the air filtration station, moved the bar around, and decided to add kegorator so we could start kegging our delicious beers.
I found a freezer chest at Lowes that was large enough to fit 3 Corny Kegs, Kegging components, plenty of bottles of beers, and hops for future brews. I took the top off of the freezer chest, spray painted the body black with appliance paint, and covered the front with wainscot.


After the wainscot, I added a riser with 2x4's to attach the tap handles and lid, and stained it with a red mahogany strain.


After completing the kegerator, it was time to frame out the bar, set the slate tiles, build in a custom slot for a mini-fridge, wrap in wainscot, and stain with the same red mahogany


Currently I have 5 types of bottles and three different brews on tap, the picture above was taken right when the brozone was completed. I got to break in the room with the BCS National Championship game... unfortunately we all know how the game ended, regardless watching the Ducks play for the Natty was a perfect way to break in the room.
Thursday, April 28, 2011
Origins of the basement craftbrewery...
A little over a year ago in February, 2010 an acquaintance said to me "you know, you seem like the kind of person that would brew your own beer". Me, having no knowledge whatsoever at the time about home brewing began pondering the idea. After a couple weeks of research and some new found motivation to start a new hobby, I ventured out to the home brew shop and my new dream was born. Our first batch (pictured below), the A.Man.Cipation Amber Ale turned out fantastically.

A year has gone by and with the help of Mitch, Pat, and Josh, we've effectively brewed over 15 different batches of home brew and have many, many more ideas, styles, and recipes to brew.
So, these are our stories of home brewing... enjoy.
~Erik

A year has gone by and with the help of Mitch, Pat, and Josh, we've effectively brewed over 15 different batches of home brew and have many, many more ideas, styles, and recipes to brew.
So, these are our stories of home brewing... enjoy.
~Erik
Subscribe to:
Posts (Atom)