Saturday, May 7, 2011

Honey Wheat Ale

Alright, so here's my first shot at blogging an entire recipe and the brew process.  I scoured the internet to get different ideas for a Honey Wheat ale, picked a few different ideas, and settled on this...

Recipe:
7.5 lbs Wheat Malt Extract
1 lb Clover Honey
2 oz Amarillo Hops
1 oz Cascade Hops
Safale US-05 yeast
Whirfloc Tablet
3/4 cup - 1 cup of corn sugar for bottling

Hop Schedule:
60 min - 1 oz Cascade
30 min - 1 oz Amarillo
15 min - Whirfloc Tablet
10 min - add Clover Honey
5 min - 1 oz Amarillo

let temp drop to 78 degrees and pitch yeast.  Since I just brewed the beer this evening I'll update later with the days I let the beer ferment in the primary and secondary fermenters.

The ingredients are nicely displayed prior to the brewing process...


After the extract was added and the first hop addition...


The beer brewing process is complete, the wort chiller is connected and we're chilling the wort...


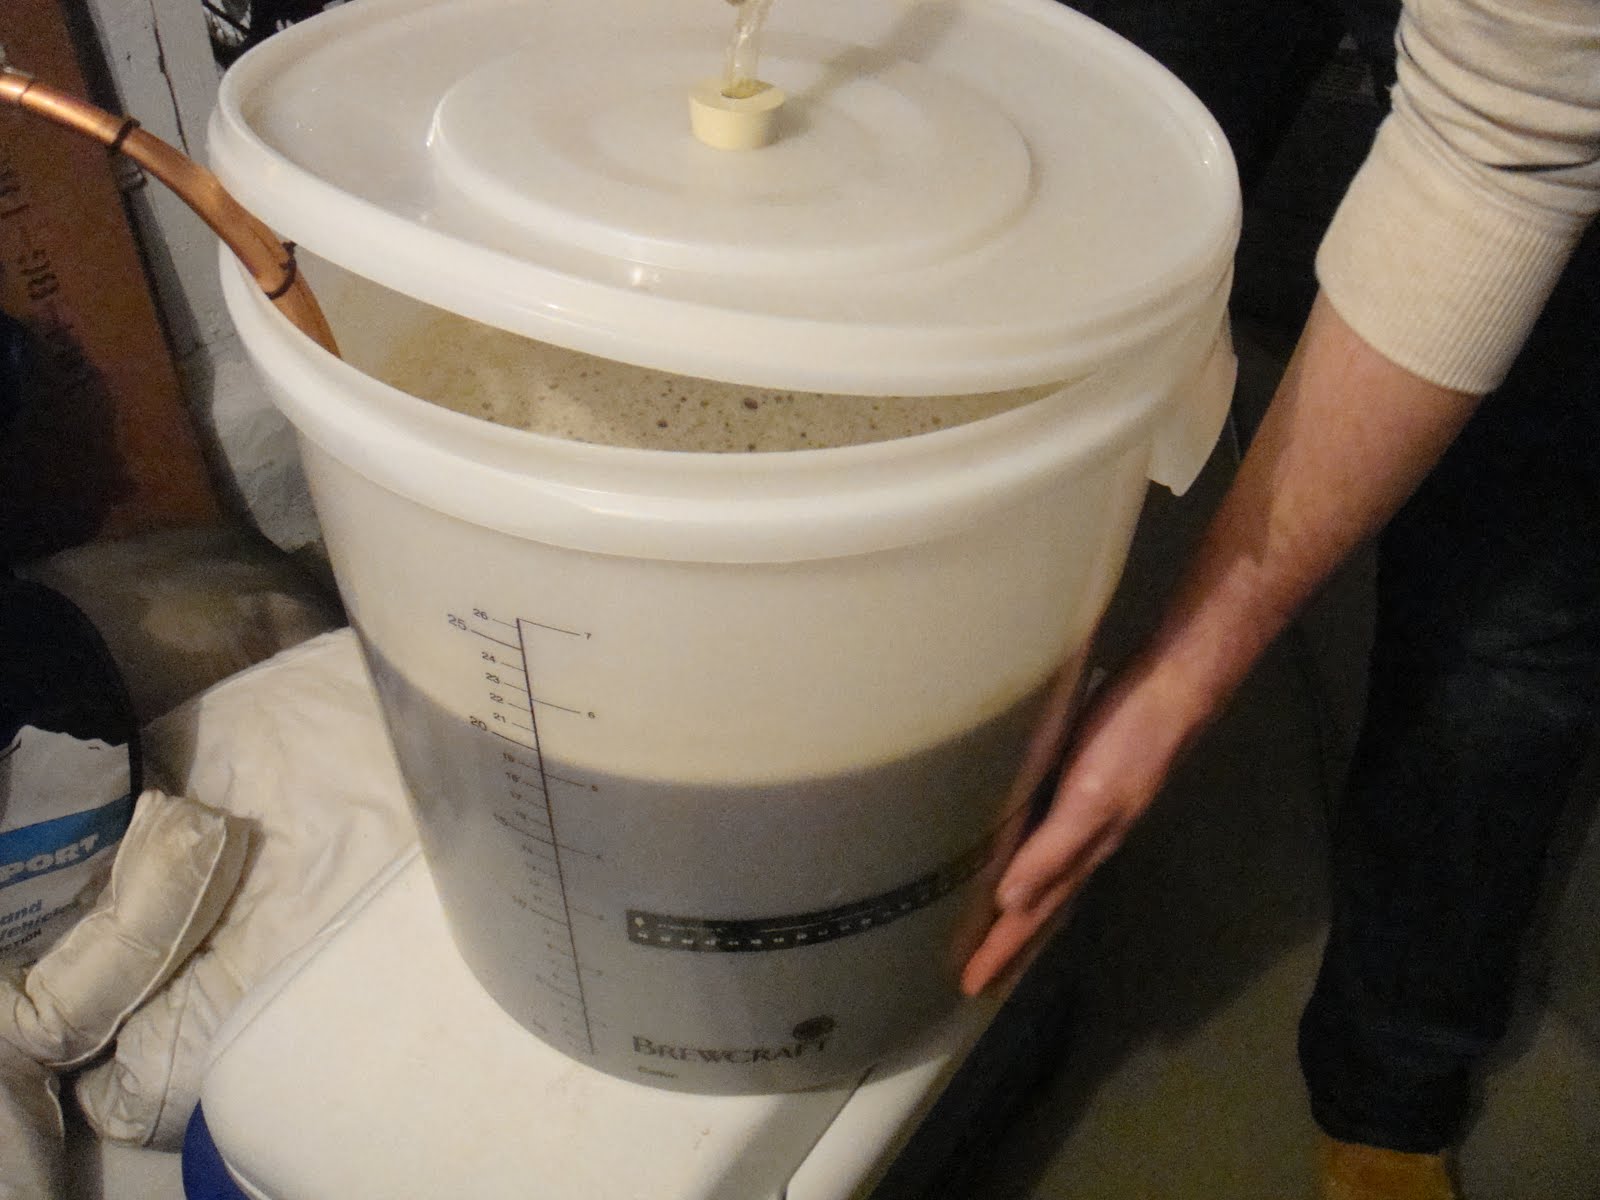
Yeast is pitched and now we wait, should be 3-4 days in the primary, another 2 weeks in the secondary, then two weeks in bottles... this should be drinkable mid-June, just in time for summer!
The beer sat in the primary fermenter for 5 days before I racked it to the secondary.  I'm thinking I'll leave it in the secondary for 10-14 days and then bottle.  Since this is my first attempt at brewing a honey beer, I chose to bottle it, rather than keg. Below is the honey wheat in the secondary and in the foreground is the black IPA sitting in another secondary.

Thursday, May 5, 2011

Building a Wort Chiller... via Home Depot/Lowes

So I decided to attempt to move away from the ice bath method of chilling the freshly boiled beer to using a wort chiller.  Problem was, I didn't want to drop $60 bucks on something that looked like it could be fairly easy to build and definitely not cost $60.  So I did some research, read some other blogs, and figured out the parts that I would need.  I headed to Lowes and picked up all of the components for just around $30.

Parts needed:
20 ft 1/4" od copper tubing
10 ft 1/4" id vinyl tubing
Hose adapter fitting
3 #4 clamps


I used one of my Cornelius Kegs as a mold to wrap the copper tubing around, because its much thinner than my brew kettle and primary fermenter, using the Cornelius Keg makes it fit nicely.


After molding the tubing, I attached the vinyl tubing and attached the clamps, after that I used a couple of zip-ties to connect the incoming and outgoing openings.


After attaching everything, I had a quick trial run in the utility sink, didn't find any leaks, and we have a finished product.  All for around $30 in materials and 15 minutes of work.  Not too shabby.